

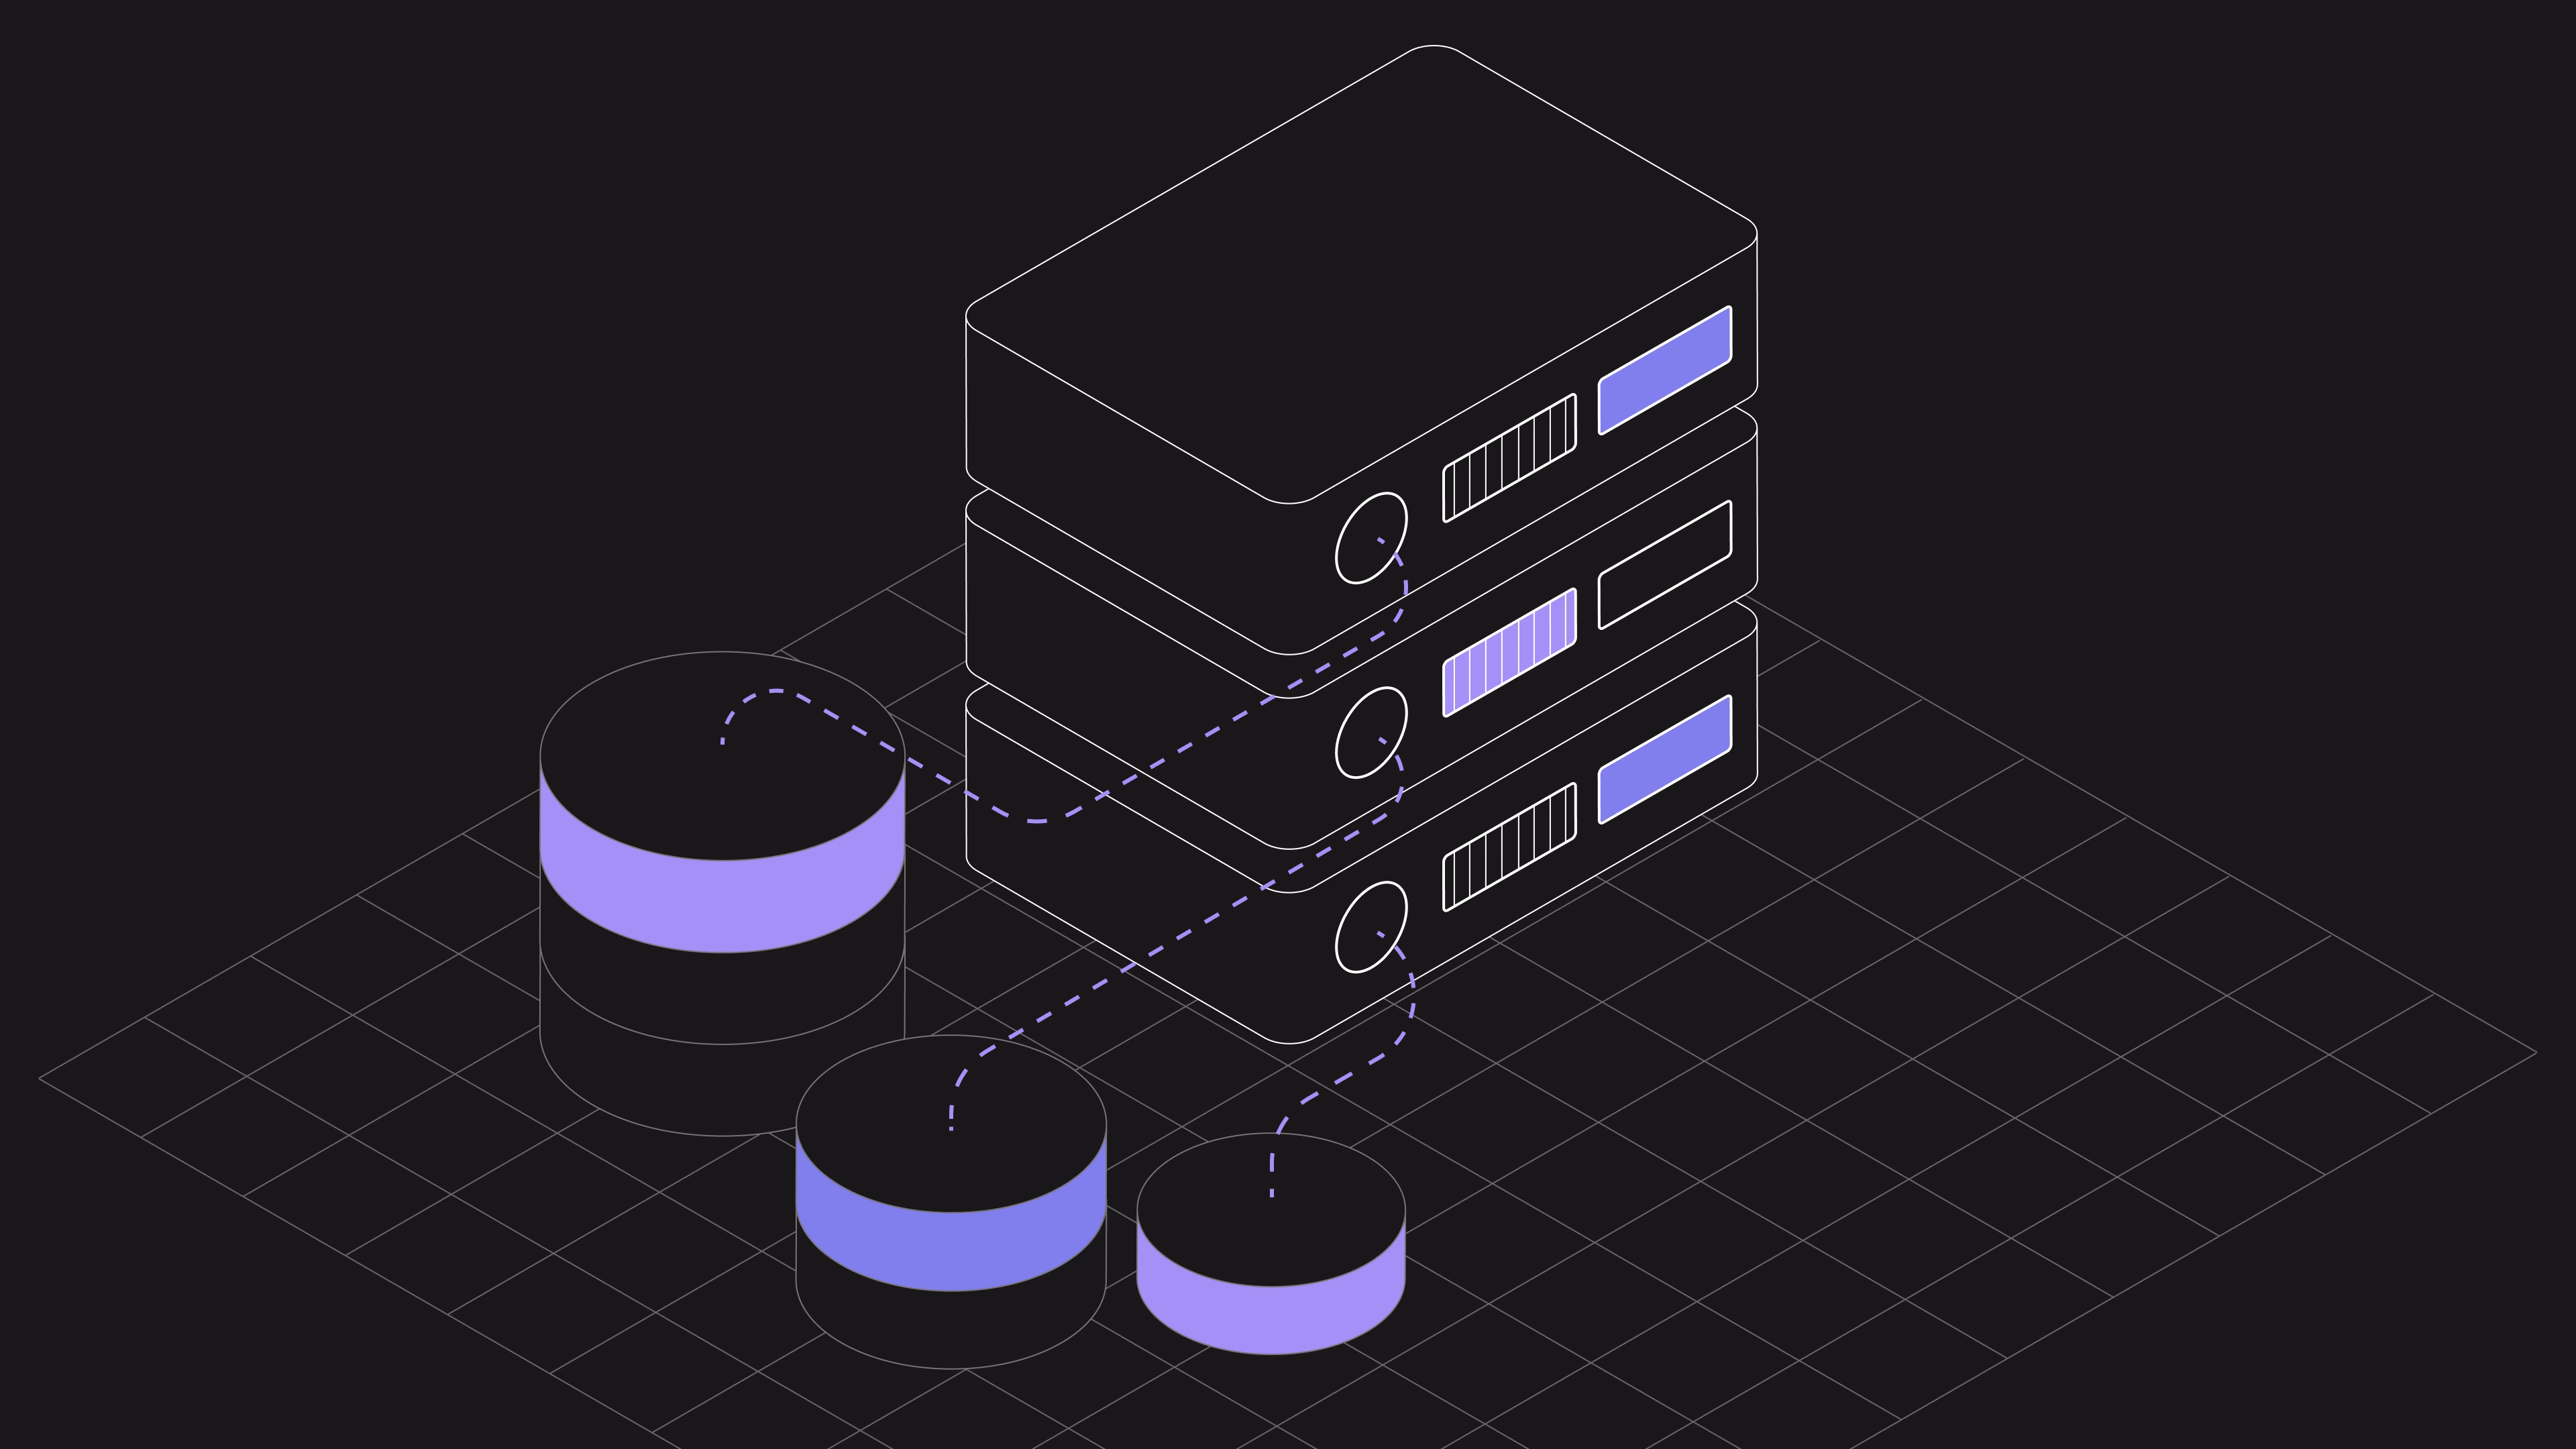
Introducing the Patronus MCP Server
Today, we are excited to introduce the Patronus MCP Server, the first MCP server for agent testing and optimization!
Model Context Protocol (MCP) is quickly becoming the standard for how LLMs interact with external tools and data sources. Similar to how LLM APIs standardized around the OpenAI spec, we’re excited to see LLM applications standardizing around MCP. To read more about how MCP works, read here.
At Patronus, we’re really excited about the industry unifying around an interaction protocol like MCP. It unlocks an entirely new set of ways in which our customers interact with Patronus.
Example Use Cases for the Patronus MCP Server
- Cursor can find the latest AI failures from Patronus, and then suggest fixes
- Claude Desktop is a chat interface over all of Patronus
- Evaluate your Claude chat outputs with a “third party evaluator” (Patronus Evaluators)
Let’s take a look at what use case #2 looks like!
Use Case: Claude Desktop as a chat interface over all of Patronus
We hooked up the Patronus MCP Server to Claude Desktop, and then gave Claude a simple question: can you evaluate this sample text across any criteria of your choice, and explain how you arrived at these scores?
Claude then...
- logged into Patronus
- searched across all evaluators, both Patronus Evaluators and user-defined
- picked the 3 most relevant evaluators
- ran a batch evaluation using the Patronus API
- generated scores and score explanations
- logged the traces to Patronus
- then wrote its key takeaways
Why is this exciting? It completely democratizes how product teams build AI products. You don’t have to be technical to participate in the AI eval process. It doesn’t matter if you’re a product manager, designer, or user researcher. You can just chat with Claude to test your ideas, run experiments, understand recent performance and failure examples, and more. We often hear that teams want AI product development to be more collaborative – so we’re excited to release tools that enable that.
And of course, if you’re an engineer, AI IDEs like Cursor and Windsurf can now help you with more of the heavylifting. ⚡
Getting Started
Installation
- Install uv: uv is used to run the MCP server. See the uv installation docs for instructions on how to set it up on your local machine.
- Clone the repository
```bash
git clone https://github.com/yourusername/patronus-mcp-server.git
cd patronus-mcp-server
```
- Install main and dev dependencies:
```bash
uv pip install -e .
uv pip install -e ".[dev]"
```
- Install main and dev dependencies:
uv pip install -e .
uv pip install -e ".[dev]"
```
Get a Patronus API Key
Create an account at https://app.patronus.ai and grab an API key. You need this because the Patronus MCP Server is interacting with the Patronus API under the hood.
Configure with Popular MCP Clients
Cursor
Add this to a .cursor/json in your project’s root directory:
{
  "mcpServers": {
    "patronus-mcp-server": {
      "command": "path/to/uv",
      "args": ["patronus-mcp-server", "--read-api-key=YOUR-API-KEY"]
    }
  }
}
Claude Desktop
Add this to your claude_desktop_config.json, which can you find by navigating through Claude Settings:
{
 "mcpServers": {
   "patronus-mcp-server": {
     "command": "path/to/uv",
     "args": [
       "--directory",
       "path/to/patronus-mcp-server",
       "run",
       "src/patronus_mcp/server.py"
     ],
     "env": {
       "PATRONUS_API_KEY": "YOUR_API_KEY"
     }
   }
 }
}
Cline
Add this to your cline_mcp_settings.json file, which you can find by navigating through Cline settings:
{
  "mcpServers": {
    "logfire": {
      "command": "uvx",
      "args": ["logfire-mcp"],
      "env": {
        "LOGFIRE_READ_TOKEN": "YOUR_TOKEN"
      },
      "disabled": false,
      "autoApprove": []
    }
  }
}
Now you can start using the Patronus MCP Server to run powerful evals!
Available Tools
- evaluate
- batch_evaluate
- custom_evaluate
- run_experiment
- list_evaluator_info
- create_criteria
Want to Contribute?
Steps
- Fork the repository
- Create a feature branch
- Commit your changes
- Push to the branch
- Create a pull request
Then, someone from the Patronus Team will review your PR!
Adding New Features
- Define new request models in server.py
```python
  class NewFeatureRequest(BaseModel):
      # Define your request fields here
      field1: str
      field2: Optional[int] = None
  ```
- Implement new tool functions with the ‘@mcp.tool()’ decorator
```python
  @mcp.tool()
  def new_feature(request: Request[NewFeatureRequest]):
      # Implement your feature logic here
      return {"status": "success", "result": ...}
```- Add corresponding tests
- Add API tests in `test_server.py`:
    ```python
    def test_new_feature():
        request = Request(data=NewFeatureRequest(
            field1="test",
            field2=123
        ))
        response = mcp.call_tool("new_feature", {"request": request.model_dump()})
        assert response["status"] == "success"
    ```
  - Add interactive test in `test_live.py`:
    ```python
    async def test_new_feature(self):
        request = Request(data=NewFeatureRequest(
            field1="test",
            field2=123
        ))
        result = await self.session.call_tool("new_feature", {"request": request.model_dump()})
        await self._handle_response(result, "New feature test")
    ```
- Add the new test to the test selection menu in `main()`- Update the README with:
- New feature description in the Features section
- API usage example in the API usage section
- Any new configuration options or requirements
Check out the Github repo for more info: https://github.com/patronus-ai/patronus-mcp-server

